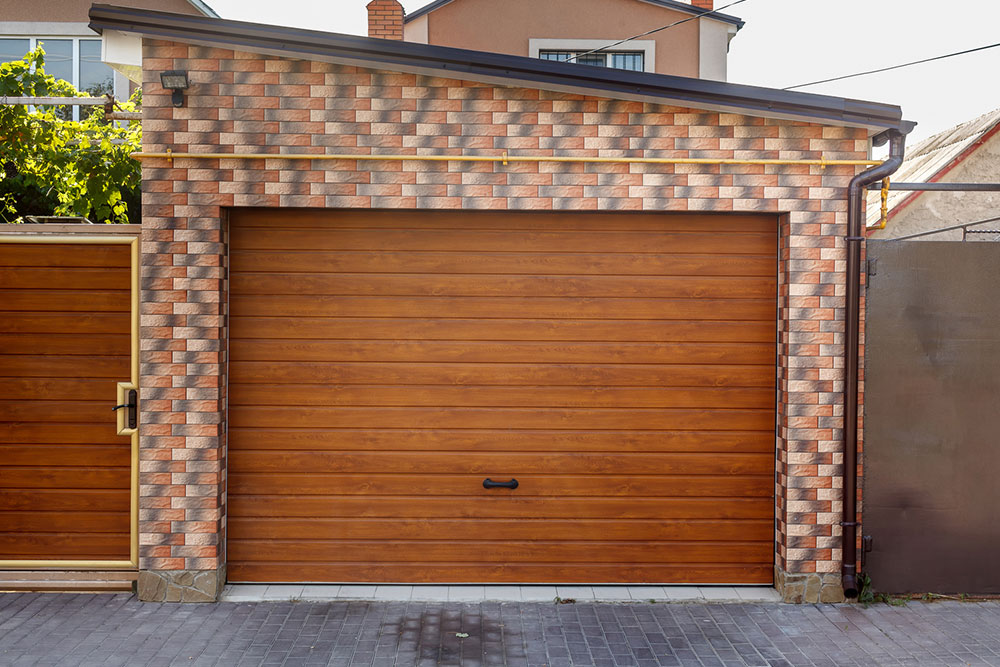
Step-by-step instructions to install a garage door in your house
Although there are several companies in your area that would install your garage door for you, there is so much satisfaction when you install it all by yourself. Installing your new garage door can be accomplished if you follow these ten steps that are listed below:
Release the tension
You’ll need to release the tension in the torsion spring before you begin working on the garage door. Start by clamping adjacent locking pliers onto the torsion spring shaft and wedge the pliers in. Then insert the steel rod in the spring winding cone and loosen the set screws.
Disconnect the existing opener and door
After the tension has been released, you can disconnect the existing garage-door opener from the door.
Install the door panels
You can now begin to install your new door. Drill pilot holes and secure the bar with screws. Attach the axle screws to the bottom and top of the panels. Place the panels in the door openings and fix.
Secure the hinges and install the track
Secure the top half of each hinge to the panel. You then need to attach the brackets.
Attach the spring assembly to the track
Attach the pieces to support the spring assembly and attach them to the track.
Bolt the tracks together
Attach the horizontal track to the vertical track on the door and then bolt the tracks together.
Install the springs
First, attach the spring anchors to the spring, and then attach the spring locking cone. Bolt the two springs securely to the main header bracket.
Install the torsion rod and pulleys
Slide the torsion rods into the side header bracket. Secure the center header bracket to the center mark on the header.
Attach the cable
Attach the cable to the pulley wheel on both sides. Slide the wheel to the header bracket and secure.
Tighten the springs
Use the steel rods to tighten the springs on your new garage door.

