

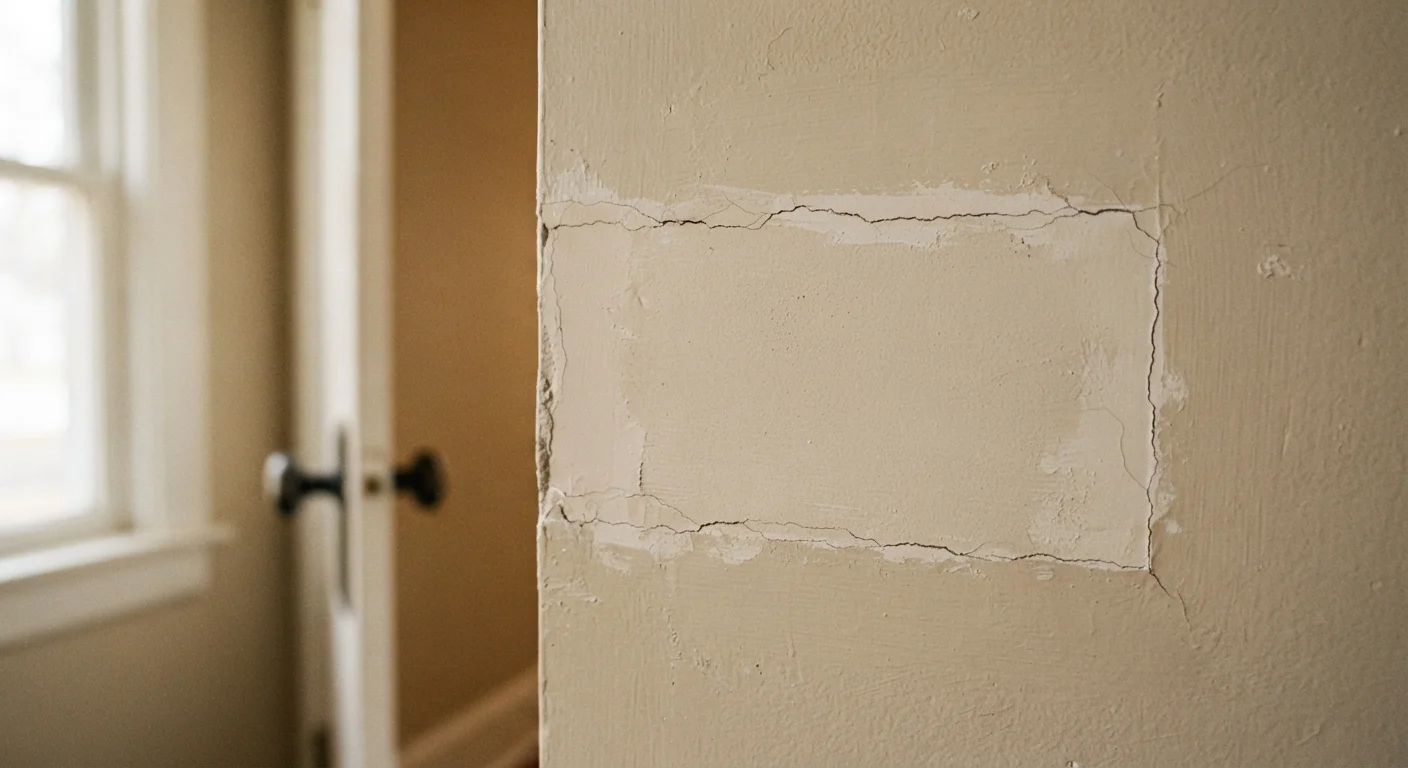
Why Drywall Patches Crack in the First Place
A patched wall that cracks again within weeks is one of the most frustrating DIY outcomes - and one of the most common. The good news is that recurring cracks are almost never random. They trace back to specific, repeatable mistakes that are entirely avoidable once you understand why each step in the patching process exists.
Joint compound works by bonding to the surrounding drywall and paper tape as it dries and hardens. That process involves moisture evaporating out of the compound - which means shrinkage. Every crack is telling you something: the compound shrank unevenly, lost its bond, or had no structural reinforcement to hold it in place. The sections below identify the six mistakes most responsible for repeat cracking, and what to do instead.
Cracks May Signal Structural Issues
Wide, diagonal, or recurring cracks - especially near door frames, windows, or corners - can indicate foundation movement or structural stress, not just a cosmetic problem. A cosmetic patch will not fix an underlying structural issue and may mask a worsening condition. If cracks keep returning in the same spot despite correct patching technique, consult a licensed contractor or structural engineer before proceeding.
The Most Common Patching Mistakes - and How to Fix Them
Work through these mistakes before starting your next repair. Many homeowners find that correcting just one or two of these issues produces results that last for years rather than weeks.
Applying joint compound in one thick coat instead of multiple thin layers.
Why it happens: Homeowners often try to fill a hole in a single pass to save time, not realizing thick compound shrinks significantly as moisture evaporates during drying.
Skipping tape over seams and holes larger than a nail pop.
Why it happens: For small repairs, tape can feel unnecessary. But without it, compound has no reinforcing substrate and cracks along the seam as the wall flexes even slightly.
Failing to clean and prime the damaged area before patching.
Why it happens: It's easy to go straight to the compound, but dust, grease, or a glossy painted surface prevents proper adhesion.
Not feathering the compound edges wide enough into the surrounding wall.
Why it happens: A narrow patch creates a hard edge where compound thickness changes abruptly - exactly where cracks form and where the repair becomes visible under paint.
Painting over the patch without applying a drywall primer first.
Why it happens: Skipping primer saves a step, but bare compound is highly porous and absorbs paint unevenly, leaving a visible 'hot spot' - and the topcoat doesn't bond as durably.
Ignoring the source of moisture that caused the original damage.
Why it happens: Homeowners understandably want the wall to look fixed quickly, but patching over water-damaged drywall without addressing the leak virtually guarantees the repair will fail again.
Don't Skip the Drying Time
Joint compound that looks dry on the surface can still be wet underneath, especially in humid conditions or when applied thickly. Painting or sanding over undried compound traps moisture and virtually guarantees cracking. Allow each coat to dry fully - typically 24 hours per coat under normal conditions - before applying the next layer or finishing.
Getting the Repair Right from the Start
A durable drywall patch is less about special products and more about respecting the process. Thin coats, adequate drying time, proper tape, wide feathering, and a good primer are the five pillars of a repair that holds. None of them require professional skill - only patience.
3+
Compound coats needed for a lasting patch
Drywall finishing professionals consistently recommend a minimum of three thin coats of joint compound for repairs that resist cracking over time.
24 hrs
Minimum drying time between coats
Under typical indoor conditions (around 70°F and moderate humidity), each coat of all-purpose joint compound generally requires at least 24 hours to dry thoroughly before the next is applied.
If you're dealing with a large section of damaged drywall, a full panel replacement is often more reliable than patching. Cut to the nearest stud on each side, install blocking if needed, and hang new drywall. It takes more effort upfront but eliminates the patchwork of uneven compound layers that can crack and telegraph through paint over time. For smaller repairs done correctly, though, a well-executed patch should be virtually invisible and completely stable for the life of the wall.
This article is for general informational and educational purposes. Always verify local building codes and consult a licensed contractor for structural concerns or repairs involving electrical, plumbing, or load-bearing elements.
The content provided on our blog site traverses numerous categories, offering readers valuable and practical information. Readers can use the editorial team’s research and data to gain more insights into their topics of interest. However, they are requested not to treat the articles as conclusive. The website team cannot be held responsible for differences in data or inaccuracies found across other platforms. Please also note that the site might also miss out on various schemes and offers available that the readers may find more beneficial than the ones we cover.