

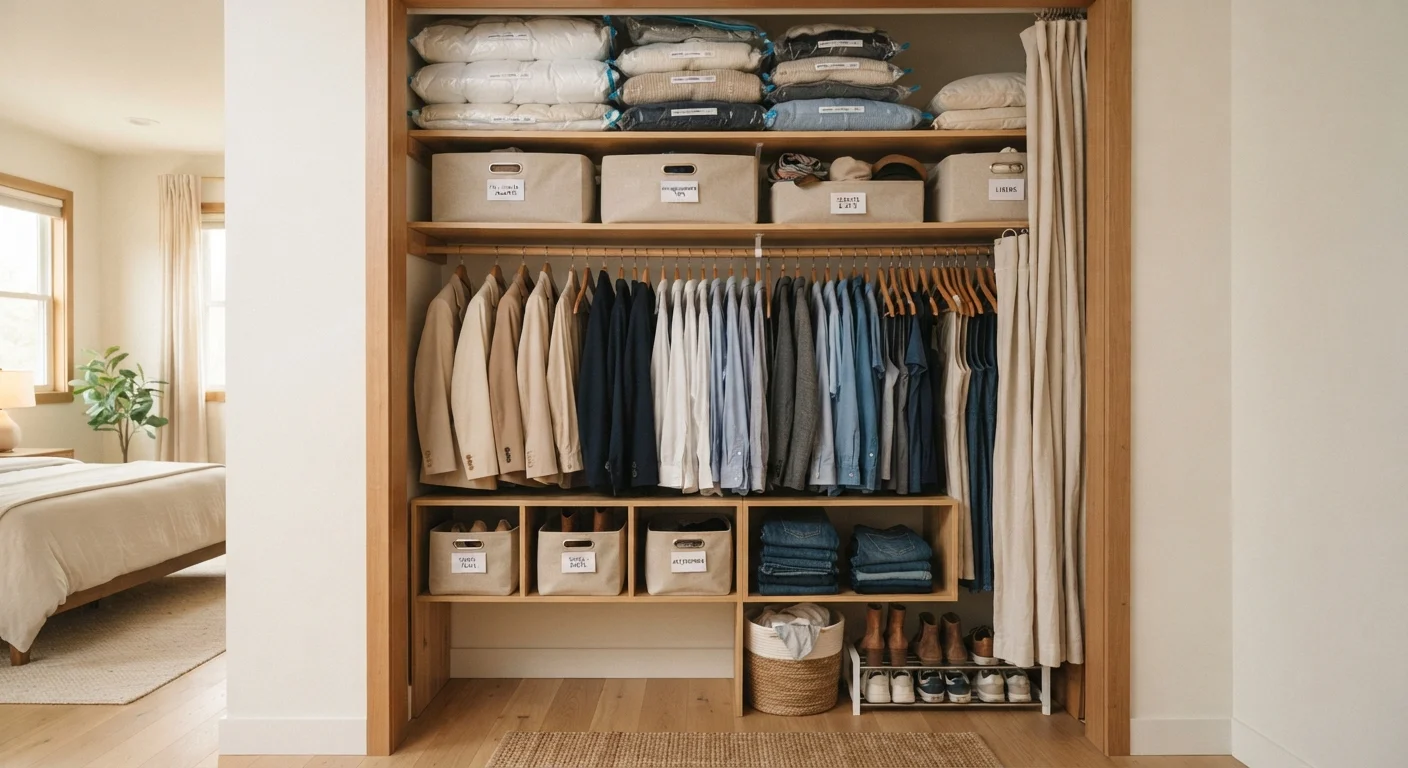
Why a Room-by-Room Rotation Works Better Than a Whole-House Purge
A seasonal closet rotation is not the same as a deep declutter - it's a structured swap that keeps only the relevant season's items accessible while safely storing everything else. Trying to tackle the whole house at once typically leads to half-finished rooms and items abandoned in transitional piles for weeks.
Working room by room gives each space a complete, usable result before you move on. It also lets you tailor the approach: a bedroom closet rotation is mostly about clothing, a linen closet about bedding weight and volume, an entryway about outerwear and gear. For a broader look at making every room work around how your household actually functions, see our Zone Method guide.
The goal is a closet that requires zero extra effort on a random Tuesday morning - the right items are in front, and nothing off-season is taking up prime real estate.
What you will need
What You'll Need Before You Start
The tools required for a seasonal rotation are simple and reusable year after year, making this one of the lower-cost organization projects you can take on. Investing once in quality vacuum bags and sturdy clear bins pays off across many rotations.
Vacuum storage bags
Compress bulky off-season items like comforters, sweaters, and coats to a fraction of their normal volume.
Clear stackable bins with lids
Store folded off-season clothing and accessories while keeping contents visible without opening each container.
Label maker or adhesive labels
Identify stored bins by room, season, and contents so retrieval next season takes seconds rather than minutes.
Garment bags
Protect hanging off-season items - suits, dresses, winter coats - from dust and snags while stored.
Under-bed rolling storage containers
Maximize unused under-bed space for flat off-season items like lightweight blankets or shoes.
Once your supplies are ready, follow the steps below to move through each room systematically. For a companion checklist that covers the full scope of home organization tasks beyond closets, the room-by-room organization checklist is a useful parallel resource.
Set up your sorting system before you touch the closet
Before pulling a single item from a shelf, place three clearly labeled laundry baskets or bags in the room: Keep in rotation, Pack away, and Donate/discard. Working without this structure turns a manageable task into a pile on the floor that's hard to reverse. Gather all your storage containers and labeling supplies so everything is within arm's reach.
Audit the bedroom closet - clothing and hanging items
Work through the hanging rod from left to right. For each item, ask two questions: Is it appropriate for the coming season? Is it in good condition? Anything damaged, unworn in the past year, or outgrown goes into the donate/discard basket. Current-season pieces return to the rod; off-season items move to the pack-away pile.
Fold off-season clothing and place it into clear bins or vacuum bags. Group by category - sweaters together, light layers together - rather than by item, so you're not hunting when the season turns. Press the air out of vacuum bags completely before sealing.
Rotate the linen closet - bedding and towels
Swap heavy duvets, flannel sheets, and thermal blankets for lighter cotton or bamboo alternatives when moving into warmer months, and reverse in fall. Fold each set completely, then store it inside one of its own pillowcases - this keeps sets together, takes up less space, and eliminates the shelf-rummaging problem.
Check every stored item for mildew smell or yellowing before sealing it away. Cedar blocks placed on shelves are a low-cost, chemical-free way to discourage pests during storage.
Tackle the kids' room - clothing and gear
Children's closets require a size audit on top of a seasonal audit, since kids grow quickly. Pull everything out and sort by whether it still fits, then by season. Items that fit but are off-season get packed away with a note of the current size on the label - this is invaluable when pulling bins back out months later.
For gear like backpacks, sports equipment, and outdoor toys, group by season of use and move off-season gear to garage or basement storage if space allows. This alone can reclaim significant closet floor space.
Reorganize the entryway and coat closet
The entryway closet often becomes a catch-all because everyone passes through it daily. At each seasonal rotation, remove all outerwear that doesn't belong to the coming season - heavy parkas in spring, rain slickers in winter - and hang them in garment bags in a bedroom or basement closet.
Relocate seasonal footwear (snow boots, sandals) to under-bed storage or labeled bins on a high shelf. Leave only what will realistically be worn in the next three months hanging at eye and hand level. A single over-door organizer for gloves, scarves, and hats dramatically reduces the loose-item problem.
Label, store, and log what you've packed
Label every bin clearly: room, season, and a brief contents note (e.g., Bedroom - Winter - Sweaters & Thermals). Stack bins with the most recently packed (furthest from next use) at the back or bottom, and the next season's bins at the front or top.
Take a two-minute photo of each storage area on your phone once everything is packed. This photo record means you'll never wonder which bin holds which items - a small step that pays off significantly at the next rotation.
Maintaining the System Between Rotations
Once your first rotation is complete, maintaining the system requires very little effort. The key habit is the one-in, one-out rule: any new item brought into a room displaces an existing item of equivalent size or function. This prevents the gradual drift that causes closets to become overstuffed before the next official rotation.
A mid-season scan - just ten minutes per room - catches anything that has migrated to the wrong space or isn't being used. Items identified as genuinely unused can go straight to donation rather than waiting for the next full rotation.
Schedule Your Next Rotation Now
As soon as one rotation is done, add the next one to your calendar - roughly six months out, aligned with when you'd naturally shift your wardrobe. Spring rotation typically falls in April; fall rotation in October. Scheduling it in advance removes the friction of deciding when to start, which is often the biggest barrier to actually doing it.
Pairing your closet rotation with other seasonal home tasks helps build a predictable annual rhythm. If you want to extend that habit to the rest of the house, our seasonal home maintenance checklist covers interior and exterior tasks across every season.
The content provided on our blog site traverses numerous categories, offering readers valuable and practical information. Readers can use the editorial team’s research and data to gain more insights into their topics of interest. However, they are requested not to treat the articles as conclusive. The website team cannot be held responsible for differences in data or inaccuracies found across other platforms. Please also note that the site might also miss out on various schemes and offers available that the readers may find more beneficial than the ones we cover.